Your photos are often the first thing a potential customer notices—before they even read your description. Great imagery doesn’t just make your experience look good. It builds trust, tells a story, and sells. Here’s how to choose and take great photos that convert.
1. Lead with a Hero Image That Captures the Experience
Why it matters: The hero image is the first visual people see—it’s your billboard. It appears in search results, social feeds, and the top of your listing.
What works best:
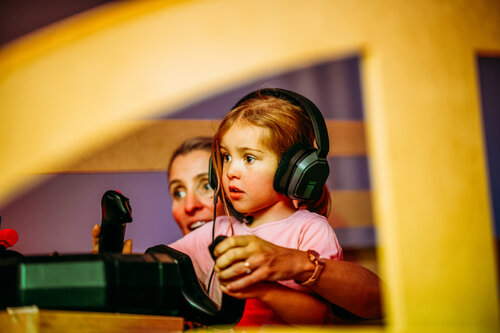
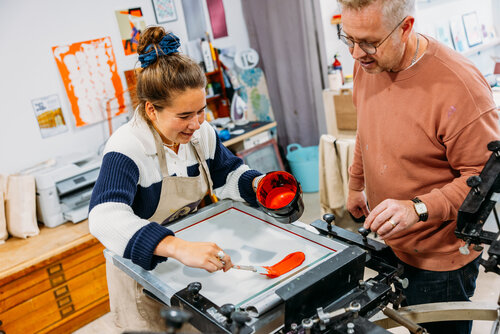
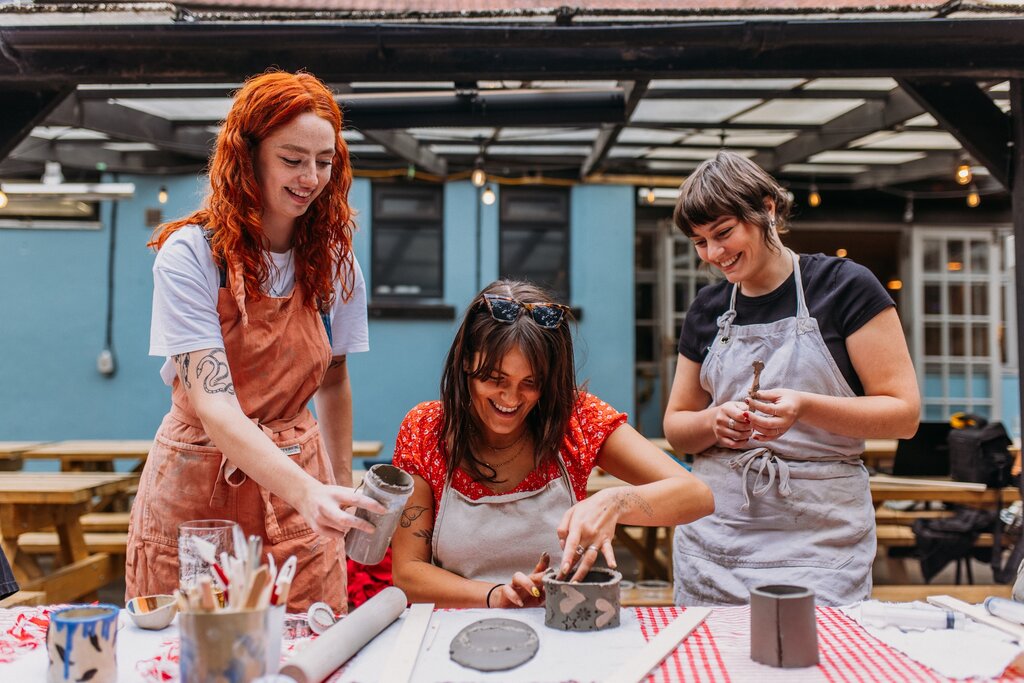
- Real people doing the activity (not just posing)
- Natural light and vibrant colours
- Smiles, action, emotion—show the joy!
- A sense of place: inside your venue or at the location
Avoid: - Empty rooms or product shots with no context
- Overly edited filters
2. Tell the Full Story with a Variety of Shots
Why it matters: People want to know what to expect—variety builds trust and excitement.
Include:
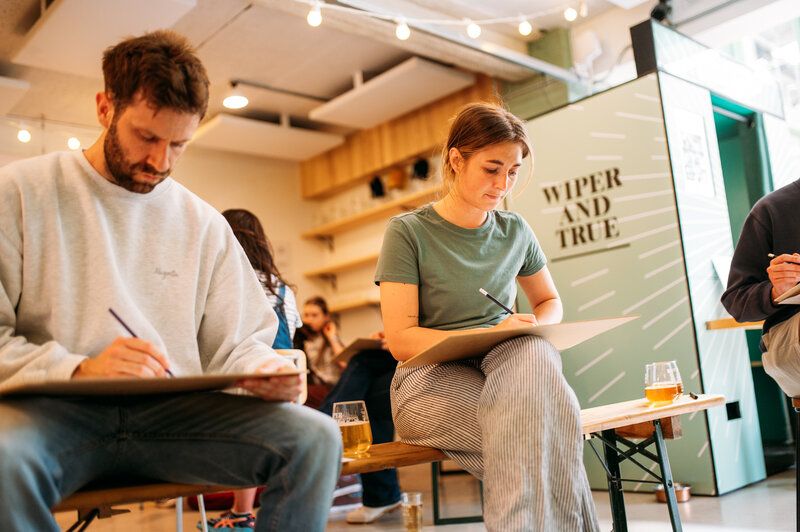
- Wide shots of the space or setting
- Close-ups of materials, food, tools, or hands at work
- Guests interacting, laughing, learning, or creating
- Host in action—leading, welcoming, teaching
- Aim for 4-6 strong images that cover the full experience journey
3. Keep It Real: Use Authentic, High-Quality Photos
Why it matters: Stock photos feel generic and untrustworthy, so they are unlikely to result in bookings. Real photos feel personal and believable.
How to do it:
- Use real shots from past events or run a complimentary session for friends to capture content
- Smartphone cameras work well — read our tips and tricks below!
- OR Invest in a photoshoot — we work with some brilliant photographers
4. How to Take Great Photos on a Smartphone
You don’t need a fancy camera to get great photos—your smartphone is more than good enough if you follow a few simple tips.
Use Natural Light Whenever Possible
-
Shoot during the day with light coming from a window or outdoors.
-
Avoid harsh midday sun—early morning or late afternoon gives a soft, warm glow.
-
Turn off overhead lights to avoid colour casts and shadows.
Focus on Framing and Composition
-
Use the rule of thirds: place your subject slightly off-centre to create balance.
-
Leave space around the subject—don’t crop too tightly.
-
Try a few angles: eye-level, overhead (great for food or craft shots), or over-the-shoulder action shots.
Capture Real Moments -
Ask a friend to take photos of a guest doing the activity—or set up a mock session.
-
Capture hands working, smiles mid-laugh, people reacting naturally.
Clean Your Lens -
It sounds simple, but a quick wipe of your grubby camera lens can make a huge difference in clarity and sharpness.
Go Easy On The Edits!
-
Avoid heavy filters—guests want to see what the space actually looks like
-
Simply use your phone’s built-in photo editor to:
- Brighten
- Increase contrast slightly
- Sharpen just a touch
5. Show Who It's For
Why it matters: Guests are more likely to book if they can see themselves in the experience.
How to do it:
- Feature real guests or friends who reflect your ideal audience
- Show group dynamics: couples, friends, families, or solo guests enjoying themselves
- Representation matters—diversity helps everyone feel welcome
Your Checklist: Before You Upload Your Photos
-
Does your hero image grab attention and clearly show the experience?
-
Are your images bright, sharp, and emotionally engaging?
-
Do they show real people in real moments?
-
Have you used landscape orientation? (wide shots work best!)
-
Are they sized correctly (max 4MB) and free from text and/or watermarks?